Search and Rescue with Loc8
- williamtweldon
- Feb 6, 2020
- 3 min read
As mentioned in my previous post about GCP instruction, I had the students hide in a field before doing data collection. I used this data in Loc8 to simulate a search for missing persons. The students were divided into three groups based on what they were wearing, and given general directions on where to "hide". Group 1, figure 1, consisted of 3 students wearing entirely different colors.

Figure 1: Group 1
Thinking that red would be the easiest color for the software to find, I began by trying to find group 1 in the 252 images collected. I manually looked through the images and found that they were present in 30 of the images. I copied one of the images, figure 2, out of the data collected and began using it as a test image. I took color samples from this image and then ran Loc8 on the image to see if it would be able to find the sweatshirt.

Figure 2: Test image
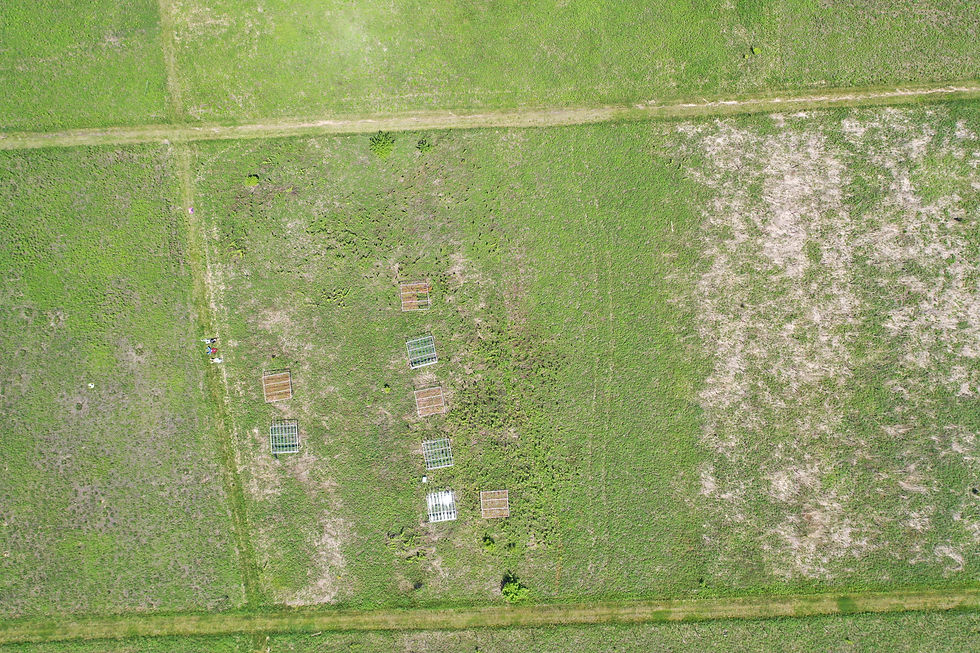
Since the data collection was performed at 300 feet our missing persons can barely be seen in the image. This highlights the usefulness and need for this software. If a search for missing persons is done at a height that will allow the operator to cover a reasonable area in a timely manner, the people they are searching for will be easy to miss.
When I started working with the data set it seemed that this would also be a large problem for the software package. Regardless of the number of color samples I took from the target, I could not get the software to locate the target in the sample image. I zoomed in on the target, to prevent color averaging, and took as many samples as I could.

Figure 3: Zoomed target
This didn't work, so I tried different numbers of samples then averaging samples and zooming out for samples. After six attempts modifying the spectral sample taken, I started to play with the settings.Specifically I modified the minimum number of pixels for a hit. This setting appears to set a minimum threshold of grouped pixels to register as a hit, and helps prevent false positives. Reducing this number has the potential to increase the number of false positives shown.

Figure 4: Default settings

Figure 5: Modified settings
Modifying the settings to search for individual pixels was a bit of an extreme option, because the images were captured using a 20MP camera. I expected this to find the sweatshirt, but also expected it to take an excessive amount of time since the program would be looking through 20 million pixels. To my surprise it only took 15.85 seconds to find 4 clusters of the color in the image.

Figure 6: Single pixel
Unfortunately when I used this method on the full set of images the program was only able to find the sweatshirt in this one image, and ignored the sweatshirt in the other 29 images where it is present. Reducing the minimum number of pixels also had the program alerting me to red covers on black tubs.
Getting frustrated with this I had the program look for black in order to find another member of group 1.

Figure 7: Group 1 with black
I had more success searching for black in the image set, getting 24 useful tagged images. This run also found a member of group 2 who was also wearing a black shirt.

Figure 8: Group 2 find
While this pass through found 24 useful images I had to flag 95 images as not useful. Using the single pixel search alerted me to almost every shadow present in the imagery, as seen in figure 9.

Figure 9: Shadows
Experimenting with this data began showing be the capabilities of this software, but continued to reinforce the learning curve involved.


Comments